
14 November 2026
Sketching in the Museum: The Urban Sketchers' Method for Your Travel Journal This Winter
By L'atelier d'Isabelle Santori · Lire cet article en français
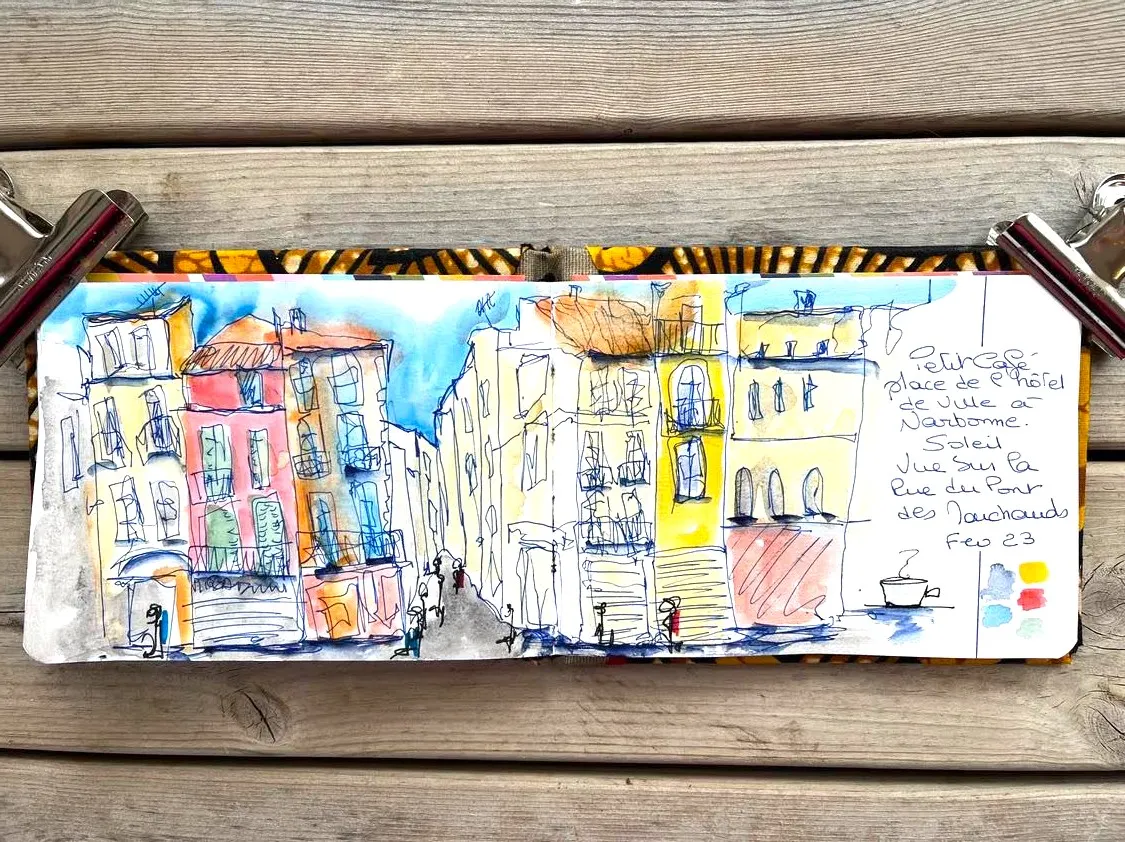
When the cold arrives, many sketchbooks stay closed until spring. Yet the museum offers still subjects, steady light and a warm setting to keep up your travel journal. A museum sketching session is one of the simplest ways to get started or keep your hand in during winter. You'll see how to check the rules, put together a compact kit, follow a 4-step method inspired by urban sketchers and choose your subjects according to the type of museum.
The travel journal doesn't stop in November
When the cold arrives, many sketchbooks stay closed until spring. Yet your travel journal can keep filling up this winter, in the warmth of a museum near you. Urban sketchers understand this well: when it's cold, they draw indoors.
In New York, the Weekday Sketchers meet on Wednesday, November 18, 2026, at the Bard Graduate Center. The meeting is set for 11 a.m. in the lobby, with Tom Freudenheim. On the program: an exhibition on women, clothing and costumes from the silent film era.
In Stockholm, Nina Johansson leads the "Capture the City" workshop at the Spårvägsmuseet on November 26. This museum is dedicated to the metro and public transport. Train cars, models and technical objects become sketching subjects.
The museum is a local journey. The subjects stay still, the light remains steady and your fingers don't freeze. Here is how to make your first session a success as early as next weekend.
Why drawing in a museum helps you start a travel journal
Subjects that don't move
In the street, a passerby disappears in a few seconds. In a museum, a sculpture, a model or a vehicle will wait for you as long as necessary. You can observe, redraw a line, start over.
Time to look
No one is rushing you. You can spend twenty minutes on a single object, walk around it, change your angle. This is rare when traveling, where everything moves fast.
Fewer eyes on you
Many beginners don't dare draw in public. In a museum, visitors look at the artworks, not at your sketchbook. You simply look like someone observing attentively.
Real training in proportions
An object in a display case is perfect for working on proportions, volumes and shadows. These exercises will then serve you for every travel sketch, from a carved door to a market stall.
Before you go: check the museum's rules
Having a small sketchbook and a pencil does not amount to a blanket permission. As this Sona News article on museum sketching rules points out, each institution sets its own conditions. Some accept only pencil, others allow more media under certain conditions.
The rules may cover:
- accepted materials: pencil, markers, inks, paint;
- the maximum size of the sketchbook or paper;
- certain rooms or temporary exhibitions that are more restrictive;
- the use of water;
- whether you can sit down or bring a stool;
- your position and the time spent in front of an artwork.
The smart habit: read the rules online before leaving and look for a section on drawing. If in doubt, ask at the front desk when you arrive. It's quick, and it saves you from being interrupted mid-sketch.
Respecting the artworks and other visitors
The New York announcement gives a good example. It recommends dry materials and asks participants not to block foot traffic in narrow galleries. Stand to the side, stay compact and give up your spot when the room fills up.
The "museum" kit: compact travel journal supplies
The Urban Sketchers workshop "Sketch NOW, Think Later" recommends a sketchbook that is easy to use standing up. This is even truer in a museum, where you won't always find a bench. Here is a kit that fits in a coat pocket or a small bag:
- A small sketchbook that you can hold in one hand, with paper that handles watercolor if you plan to paint.
- A soft graphite pencil, for construction lines.
- A fine-tip waterproof ink pen, so the line doesn't run under the color.
- A water brush, only if water is permitted.
- A mini watercolor box with few colors: one blue, one yellow, one red and one earth tone are enough.
- A cloth or paper towel, to wipe the brush and avoid staining anything.
- A zippered pouch, to store the damp cloth and the brush.
Common mistake: bringing too much equipment. In a museum, every extra item weighs you down and makes you less mobile.
The "zero water" option
If water is forbidden, or if you'd rather not take any risk, draw in line on site. Note the colors you observe in pencil in the margin: "faded blue," "warm ochre." You can add the watercolor after the visit, at a café or at home.
This method also lets you take your time with color. To see how ink and watercolor can work together on the same page, browse Isabelle Santori's ink and watercolor gallery, where her blues are her signature.
The 4-step method for a 1.5-hour session
This method draws on the spontaneous spirit of Urban Sketchers workshops: draw first, think later.
Step 1: Walk around without drawing (15 minutes)
Keep your sketchbook closed. Walk through the rooms and pick out two or three subjects that appeal to you. Also check that there is a spot where you can stand without bothering anyone.
Step 2: A warm-up sketch (5 to 10 minutes)
Choose a simple subject and draw it in 5 minutes, without an eraser. The goal is not to succeed, but to loosen your hand and calm your nerves. If you have time, do a second one.
Step 3: The constructed sketch (45 minutes)
Position yourself in front of your main subject. Follow these principles, taken from the Urban Sketchers handout:
- Start with the main subject, your focal point.
- Lay down the big shapes before the details.
- Find the horizon line and vanishing points, especially for a display case or a room.
- Keep shadows to line work: a touch of watercolor will render them faster.
- Don't put color everywhere; keep some white space for writing.
You can finish on site or leave some of the color for later. Both are allowed.
Step 4: The journaler's annotations (15 minutes)
This is the step that turns a sketch into a travel journal page. Note the date, the name of the museum and the information from the label: title, origin, material. Add an observed detail and a personal impression, in a few words.
Keep 10 minutes in reserve to pack up calmly, check that nothing has leaked and wipe your hands.
Checklist before heading to the museum
- I have read the museum's rules on drawing and the use of water.
- My sketchbook is small enough to hold in one hand.
- My pen has waterproof ink.
- My water brush is tightly closed, or I'm going with the "zero water" option.
- I have a cloth and a zippered pouch.
- I know whether a stool is allowed.
- I have planned 1.5 hours and chosen a quiet time slot.
Subject ideas by type of museum
Transport or technology museums
Trains, trams, models, engines: these subjects with clean shapes train the eye in perspective. As at the Stockholm metro museum, start with the silhouette of a vehicle before its rivets.
Decorative arts museums
The Bard Graduate Center specializes in decorative arts and design. Clothing, ceramics, furniture or jewelry offer a variety of textures and materials. Try to render a drape in a few supple lines.
Sculptures
A statue lets you work on volumes and light. Walk around it and choose the angle where the shadow best defines the form.
Everyday objects
Spoons, tools, antique lamps: these small objects can be drawn quickly. A full page of five objects makes a wonderful warm-up exercise.
Ethnographic museums: traveling to Morocco or India
Textiles, ceramics, jewelry, geometric patterns: these museums let you travel without leaving your city. Drawing a zellige or an Indian fabric pattern prepares your eye for the colors and repetitions of a future trip.
Drawing with others to get started
Group outings, like those of the urban sketchers, are reassuring when you're a beginner. You draw side by side, then lay the sketchbooks down together to look at the pages. Look into it: a group may be meeting near you.
Classes and workshops are another way to learn in a group, with someone to guide you. Isabelle Santori teaches travel journal and painting classes and workshops: you'll find the information on the studio's website.
A museum page is already a travel journal
A sketch made in a museum is not a second-rate exercise. With its date, its label and your impressions, it is already a real travel page. Each session also prepares your eye and your hand for your next departures.
Isabelle Santori paints her journals on site, in ink and watercolor. To see where this practice can lead, discover her travel journals painted on site in Morocco and India: Palette Marocaine, INDEscriptible and L'Infusion Bleue. Enough to make you want to open your own travel journal this very weekend, in the warmth, in front of a display case.
Key points
| Section | Key messages |
|---|---|
| News | Urban sketchers draw in museums in November 2026: Bard Graduate Center in New York (November 18), Spårvägsmuseet in Stockholm (November 26). |
| Why the museum | Still subjects, steady light, time to observe, fewer eyes on you: ideal for starting a travel journal. |
| Rules to check | Accepted materials, sketchbook size, water, stool, restricted rooms: read the rules and ask at the front desk. |
| Museum kit | Small sketchbook held in one hand, pencil, waterproof pen, water brush, mini watercolor box, cloth, zippered pouch. |
| Zero water option | Line drawing on site, colors noted in the margin, watercolor added after the visit. |
| 1.5-hour method | 1. Walk around without drawing. 2. 5-minute warm-up sketch. 3. Constructed sketch from big shapes to details. 4. Annotations: date, label, detail, impression. |
| Subject ideas | Vehicles and models, decorative arts, sculptures, everyday objects, textiles and patterns from Morocco or India. |
| Drawing with others | Urban sketchers group outings, travel journal classes and workshops. |
| Conclusion | A museum page is already a travel journal page and prepares the eye for future journeys. |